Aiden Open-Source Kit: From Setup to AI Agent
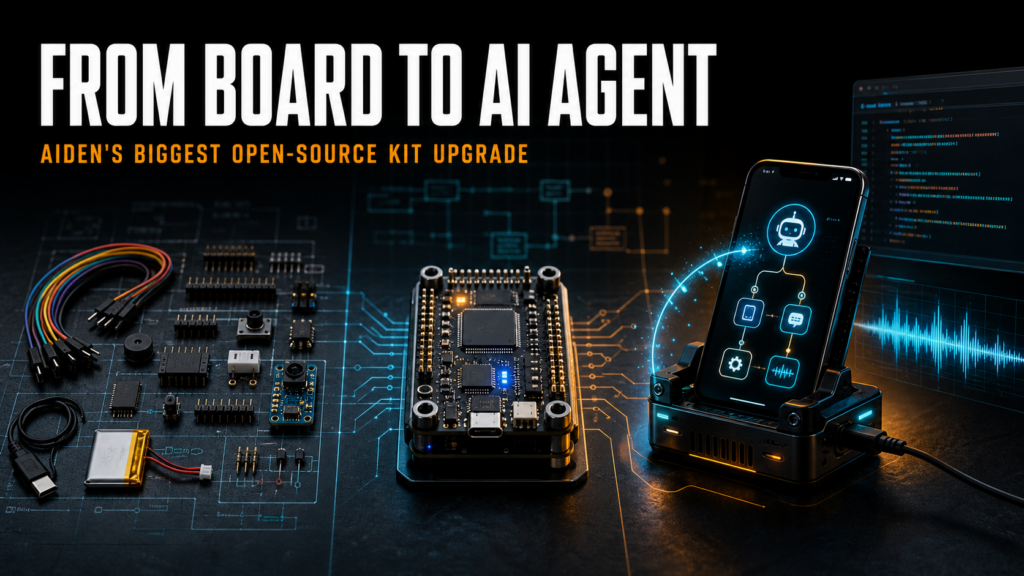
Aiden’s latest open-source updates create a much clearer path from components on a desk to an AI agent that can be tested, heard, controlled, and debugged.
The key improvement is not one isolated feature. It is the way the pieces now fit together. Hardware documentation helps you assemble the development board, a virtual iOS environment provides a repeatable test target, PC audio removes a hardware dependency, and new debugging and input tools make the full interaction loop easier to verify.
This guide walks through that updated path.
Step 1: Assemble the development board
Start with Aiden’s public Hardware & Wiring guide, introduced in PR #451.
Before this update, important prototype knowledge was distributed across the project. The guide now brings together:
- The required development-board components.
- Assembly steps.
- Wiring diagrams.
- Checks to perform before power-on.
Treat the pre-power section as part of the build, not as optional reading. Confirm component orientation, cable placement, and power connections before starting the board. A few minutes of inspection is cheaper than diagnosing an unstable system later.
At the end of this stage, your goal is simple: a board assembled according to the documented layout and ready for controlled startup.
Step 2: Choose a physical or virtual test target
Aiden’s updated workflow no longer depends exclusively on a physical iOS device for every test.
PR #446 adds an iOS VPhone environment bridge and the `vphone_ios_basic` benchmark suite. The bridge provides health checks, exclusive sessions, screenshots, and device-operation interfaces. It also includes startup validation tooling, a client, and interaction tests.
This gives you two useful testing modes:
| Mode | Best used for |
|---|---|
| Physical device | Hardware integration, real connection behavior, and final validation |
| iOS VPhone | Repeatable interaction tests, benchmark runs, and faster failure reproduction |
The VPhone environment is not a replacement for final device testing. It is a stable baseline that helps you answer a more useful question: did a change break the agent, or did the physical environment change?
Run the environment health check first, make sure the session is exclusively held, and verify screenshot and device-operation interfaces before attempting a longer workflow.
Step 3: Test speech without waiting for board audio
Voice output can now be validated from a PC or ADB environment.
PR #452 adds the `audio.playback_backend` setting. It switches playback between the board’s `audio_service` and the host computer.
When local playback is selected, the synthesized result is stored temporarily as a WAV file and sent to the system audio player. This is particularly useful when:
- You are using a simulator.
- The physical audio path is not connected yet.
- You want to debug TTS output separately from board hardware.
- A contributor is working on the Agent without access to the development kit.
Test the smallest loop first: generate one short spoken response, confirm that the WAV file is produced, and verify that local playback completes before testing a streaming conversation.
Step 4: Open the browser terminal
Once the runtime is running, debugging should not require a complicated path back into the board.
PR #453 adds WeTTY to the Luckfox Buildroot image. Enable it with `ENABLE_WETTY`, then use the Terminal entry in the existing configuration page.
The browser terminal is useful for:
- Inspecting running services.
- Reviewing logs during an interaction.
- Checking configuration changes.
- Diagnosing failures from a machine that can reach the configuration page.
The integration accounts for the project’s Node.js 16 and ARM/uClib environment, so contributors do not need to reconstruct that compatibility work themselves.
Step 5: Configure the correct keyboard layout
Before judging text-input accuracy, make sure the USB HID layout matches the target environment.
PR #450 adds QWERTY, AZERTY, and QWERTZ layout options and connects the selected mapping to both key clicks and text entry.
Use a short test string that includes letters, punctuation, and symbols whose positions differ across layouts. If the target receives the wrong characters, fix the layout configuration before investigating higher-level Agent behavior.
This separates two very different problems:
- The Agent selected the wrong text.
- The correct text was converted into the wrong HID keys.
Step 6: Validate the unified text-entry path
Aiden now exposes `enter_text` as the common text-input tool.
The implementation in PR #458 prefers Phone Bridge and keeps local HID or IME handling as isolated fallbacks. It also introduces input-method detection, candidate-word controls, more focused output, and clearer timing metrics.
A practical validation sequence is:
- Enter a short English phrase.
- Enter Chinese or another IME-dependent phrase.
- Repeat the test after switching apps.
- Move the Bridge App into the background and return to the target.
- Review the timing metrics and final text rather than relying only on a success message.
PR #462 improves the last two cases by restoring Phone Bridge to the foreground for iOS clipboard input and avoiding unnecessary keyboard-search actions during recovery.
If a test fails, record which path was selected—Phone Bridge, HID, or IME fallback. That context makes the failure reproducible.
Step 7: Test streaming TTS tags
The speech pipeline now accepts two tag formats:
- `…`
- `[tts]…[/tts]`
The parser added in PR #459 tolerates mixed tag styles, capitalization differences, tags split across streamed chunks, and UTF-8 text divided between chunks.
Do not test only a complete, perfectly formatted response. Include cases where:
- The opening tag arrives in multiple chunks.
- The closing tag uses a different supported style.
- Chinese or other multibyte text is divided across chunks.
- Capitalization varies.
Because the shared logic now lives in the internal `speech` package, the same behavior can be used by audio conversations, the runtime, server output, and real-time activity streams.
Step 8: Inspect what the Agent actually saw
When a screen-driven workflow fails, the most important evidence is often the screenshot used for the decision.
PR #466 adds image previews to the Agent file browser. Common image files open directly in the details drawer, while `screenshot_ref` values in events and logs become clickable links.
Use this workflow during debugging:
- Open the event or log entry for the failed action.
- Follow its `screenshot_ref`.
- Inspect the screenshot in the side panel.
- Compare the visible state with the action the Agent attempted.
- Correlate the result with the input-path and timing data.
This helps distinguish perception failures from input failures. If the screenshot was stale or incomplete, focus on capture and timing. If the screenshot was correct but the resulting text or click was wrong, inspect Agent reasoning and the selected control path.
A practical end-to-end validation checklist
Before calling the setup ready, complete one small workflow from beginning to end:
- The board matches the Hardware & Wiring guide.
- Pre-power checks are complete.
- The physical or VPhone environment passes its health check.
- Screenshots can be captured and opened from logs.
- The selected keyboard layout produces the expected characters.
- `enter_text` works through the intended control path.
- Phone Bridge can recover after an app switch.
- TTS plays through either the board or the PC backend.
- Streamed TTS tags and UTF-8 text are parsed correctly.
- The browser terminal is available for inspection.
A good first scenario is intentionally small: open a known screen, capture it, enter a short phrase, produce one spoken response, and stop. Once that loop is repeatable, increase complexity one step at a time.
From open-source files to a repeatable development loop
The most valuable part of this Aiden update is continuity. Builders now have a documented way to assemble the hardware, a standardized iOS test environment, a hardware-independent audio option, a browser-based terminal, configurable keyboard layouts, a unified text-entry tool, stronger streamed-speech parsing, and direct screenshot inspection.
That is what turns an open repository into a usable development kit: not just source code, but a path to build, test, observe, and improve the system.
Start with the Aiden firmware repository, follow the Hardware & Wiring guide, and use the linked pull requests when you need the implementation details behind each step.
Related posts
Human-in-the-Loop AI Agents: Pause, Approve, Redirect and Resume
Interruptible AI agent design uses preemption, task cancellation, and context control to keep physical AI actions redirectable.
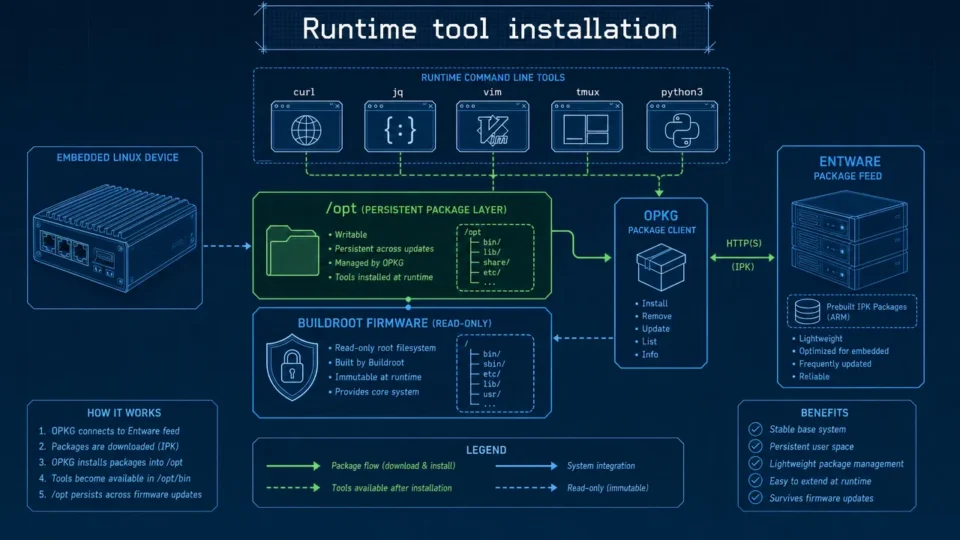
Embedded Package Management Without Rebuilding Firmware
Embedded package management in Aiden Firmware uses OPKG and Entware to install approved tools at runtime while keeping Buildroot stable.
Aiden Expands Device Workflows Across Phones, Containers, and HDMI
Aiden device workflows connect iOS notifications, Docker services, and dual HDMI capture through defined transport and hardware boundaries.